Installing an Oracle Server
This is an example of a reasonable priced Oracle server. The configuration below was around £700.
From R12.2 an Oracle Weblogic Server is included so you will need a lot more power to install R12.2 in a reasonable time. You could install and run R12.1 on a 4Gb Atom CPU based server but for R12.2 I would recommend minimum 8Gb and ideally 16Gb running on a i7 or Xeon CPU. Also to speed things up it would be good to run the database on a RAID 0 disk array.
If you intend to install Oracle Fusion in the future then use a Xeon CPU that can address plenty of memory.
The configuration I have chosen is:
| Component | Manufacturer | Notes |
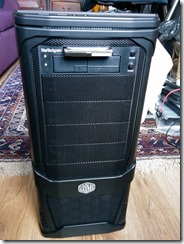
| Case | Coolermaster P100 ATX Case with Thunder 700W PSU | Large cabinet for HDD’s and CPU cooling |
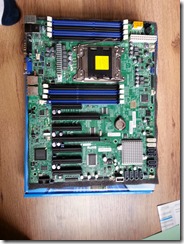
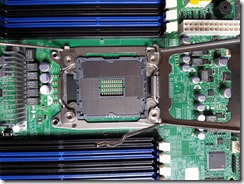
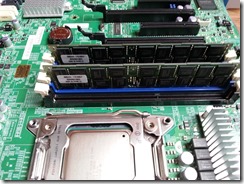
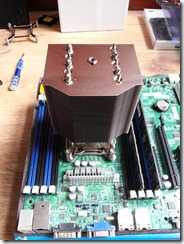
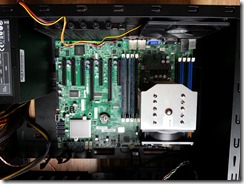
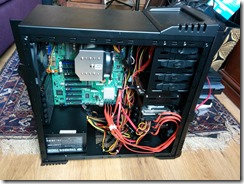
| Motherboard | Supermicro MBD-X9SRL-F-O | Supports iKVM, RAID, Xeon E5 and 256Gb RAM |
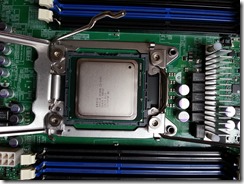
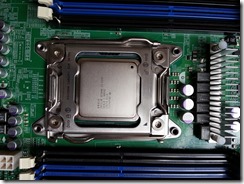
| Cpu | Intel Xeon E5-2603 4 Core | Cheapest large memory range server CPU |
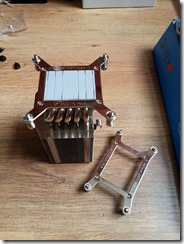
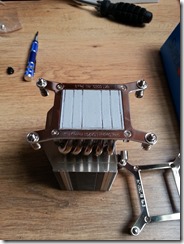
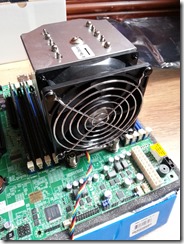
| Cooler | Supermicro SNK-P0050AP4 LGA 2011 Intel Xeon CPU Cooler | Has to fit narrow LGA2011 Xeon socket |
| Ram | Kingston ECC 1333MHz 240-pin RDIMM DDR3L CL9 16Gb | I bought two of these for best performance |
I already have 4 hard disks from a previous server. 1 HDD will be for staging and 3 HDD’s will be for the RAID 0.
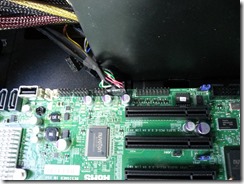
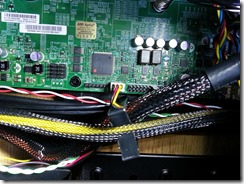
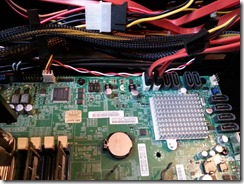
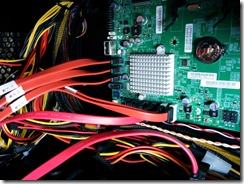
Hardware Installation
This is not a detailed instruction but just a hint of how to do this, so be sure to follow the supplied manuals with your product.

